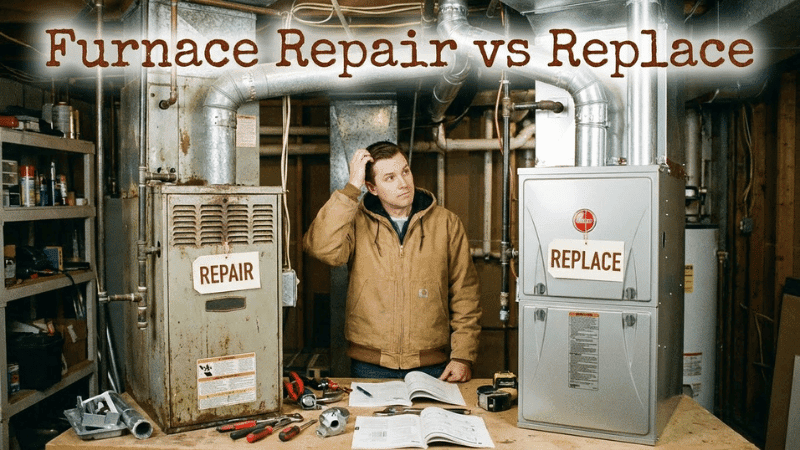
How To Check Furnace Filter?
Let’s face it: most of us don’t give much thought to our furnace filters until something goes wrong. But learning how to check furnace filter regularly can save you money and improve your home’s air quality. So, what exactly is a furnace filter, and why is it so important?
A furnace filter is your HVAC system’s unsung hero. It’s a simple device that plays a crucial role in maintaining clean air and ensuring your heating and cooling system runs efficiently. The primary purpose of a furnace filter is to trap dust, pollen, pet dander, and other airborne particles, preventing them from circulating through your home.
When it comes to furnace filters, not all are created equal. They come in various types, each with its own MERV rating (Minimum Efficiency Reporting Value). The higher the MERV rating, the more efficient the filter is at trapping smaller particles. Here’s a quick breakdown:
- MERV 1-4: Basic filters that catch large particles
- MERV 5-8: Medium efficiency, good for most homes
- MERV 9-12: High efficiency, ideal for those with allergies
- MERV 13-16: Very high efficiency, often used in hospitals
Knowing how to check furnace filter and maintain it regularly is crucial for several reasons:
- Improved air quality
- Enhanced HVAC efficiency
- Lower energy bills
- Extended lifespan of your HVAC system
2. Locating Your Furnace Filter
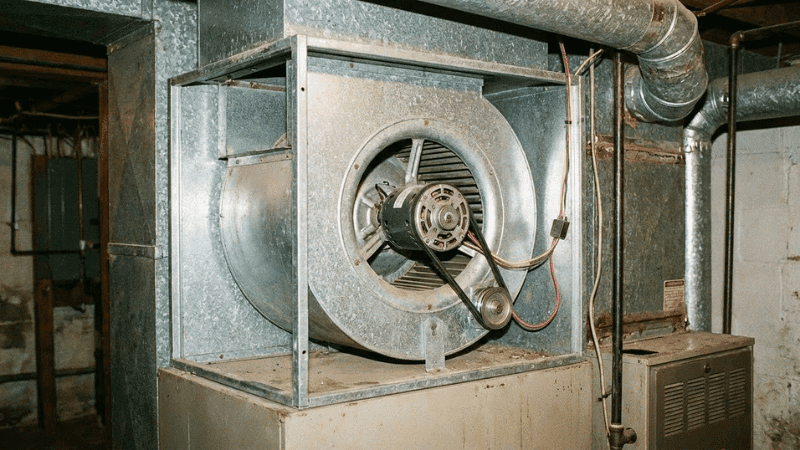
Now that we understand the importance of furnace filters, let’s tackle the first step in how to check furnace filter: finding it! The location of your filter can vary depending on your home’s setup and HVAC system type. Here are some common places to look:
- Blower compartment: Often, the filter is located in the blower compartment of your furnace. Look for a slot near the return air duct connection.
- Return air vent: In some homes, especially those with horizontal furnaces, the filter might be in a large return air vent on a wall or ceiling.
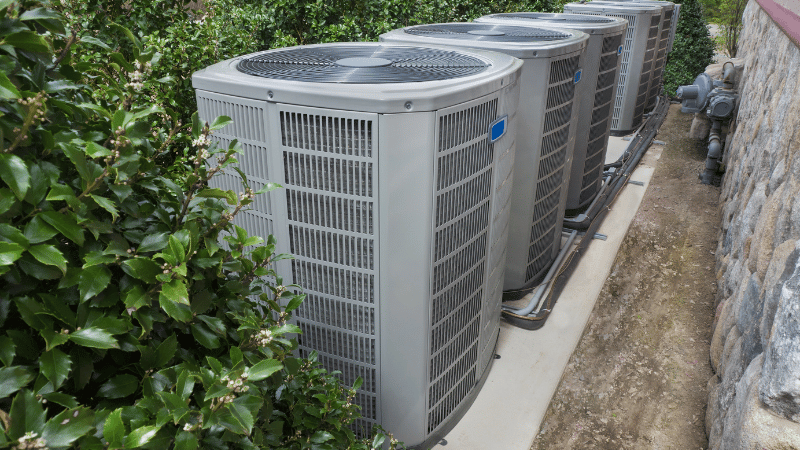
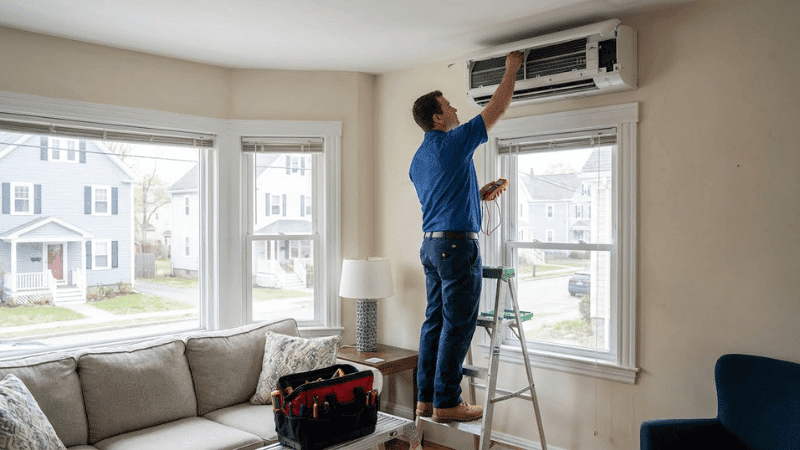
- Air handler: If you have a heat pump or air handler, the filter is typically located in a slot on the side or bottom of the unit.
Finding your furnace itself might be the first challenge, especially if you’re new to your home. Here are some typical locations:
- Basement: Most common in older homes
- Utility closet: Often found in apartments or smaller homes
- Attic: Sometimes used in warmer climates
- Crawl space: Less common, but possible in some homes
Once you’ve located your furnace, look for a removable panel or slot that houses the filter. It’s usually near where the return duct connects to the furnace.
3. Inspecting Your Furnace Filter
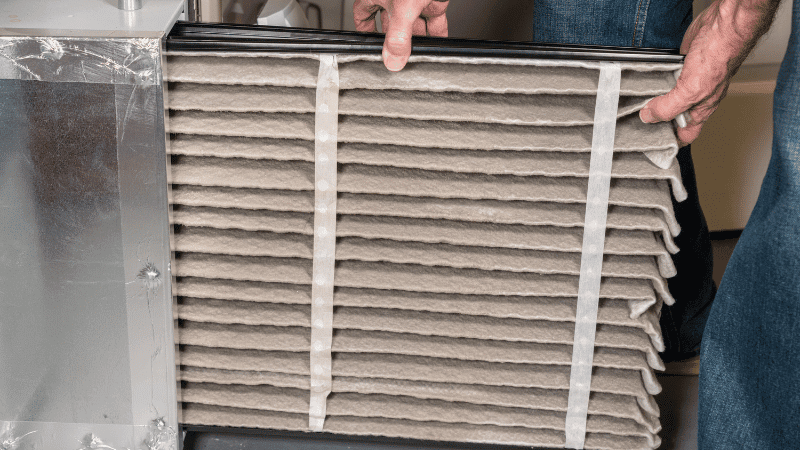
Now that you’ve found your filter, it’s time to learn how to check furnace filter condition. Here’s what you need to do:
- Turn off your HVAC system for safety.
- Carefully remove the filter from its slot or housing.
- Hold it up to a light source.
If you can’t see light passing through the filter, it’s likely clogged and needs replacement. Other signs of a dirty filter include:
- Visible dirt, dust, or debris on the filter surface
- A gray or dark color instead of its original white or light color
- A noticeable odor when the heating or cooling system is running
When inspecting your filter, pay attention to its orientation. Most filters have arrows indicating the correct airflow direction. It’s crucial to reinstall the filter in the same direction to ensure proper functioning.
4. Replacing Your Furnace Filter
If your inspection reveals a dirty filter, it’s time for a replacement. Here’s how to check furnace filter size and replace it properly:
- Check the size: Look for dimensions printed on the filter frame. Common sizes include 16×20, 20×25, and 14×25 inches.
- Choose the right type: Consider your needs and MERV rating preferences.
- Remove the old filter: Slide it out carefully to avoid dislodging debris.
- Insert the new filter: Ensure the arrows on the frame point towards the furnace, indicating correct airflow direction.
- Secure the filter: Make sure it fits snugly without any gaps around the edges.
- Close the compartment: Replace any covers or panels you removed.
- Dispose of the old filter: Place it in a garbage bag to contain any dust before throwing it away.
Remember, knowing how to check furnace filter and replace it correctly is key to maintaining your HVAC system’s efficiency.
5. Maintaining Your Furnace Filter for Optimal Performance
Regular maintenance is crucial for keeping your HVAC system running smoothly. But how often should you check and replace your furnace filter? The answer depends on several factors:
- Filter type: Thinner, fiberglass filters typically need monthly replacement, while thicker, pleated filters can last up to 3 months.
- Home environment: Homes with pets, smokers, or high dust levels may require more frequent changes.
- HVAC usage: Systems that run constantly may need filter changes more often.
As a general rule, aim to check your furnace filter monthly and replace it at least every 3 months. However, during peak usage seasons (summer and winter), you might want to check more frequently.
Benefits of regular filter maintenance include:
- Improved indoor air quality
- Enhanced HVAC efficiency
- Lower energy bills
- Extended lifespan of your heating and cooling system
To further improve your HVAC efficiency:
- Keep vents and returns clear of furniture and obstructions
- Schedule annual professional maintenance
- Consider upgrading to a programmable thermostat
Conclusion
By now, you should feel confident in how to check furnace filter and maintain it properly. Remember, a little attention to your furnace filter can go a long way in keeping your home comfortable, your air clean, and your energy bills in check. So, why not take a few minutes today to check your furnace filter? Your home (and your wallet) will thank you!